
Cloudflare Bypass
How to Get Cloudflare Turnstile Token with Nstbrowser?
In this guide, you can follow our 4 effective steps to finish grasping the Cloudflare Turnstile Token with Nstbrowser.
Apr 28, 2024Tạ Quí Lĩnh
Welcome to this tutorial! In this tutorial, we will use Nstbrowser to complete the steps of fetching a turnstile token from a site enabled with Cloudflare Turnstile.
What Is Cloudflare?
At the very beginning, let's talk about Cloudflare. Founded in 2009, Cloudflare is a well-known company that provides solutions designed to improve the security, speed, and availability of websites and Internet applications.
Cloudflare is mainly involved in services of:
- Content Delivery Network (CDN)
- DDoS Protection
- Web Application Firewall (WAF)
- DNS Services
- Load Balancing
- SSL/TLS Encryption
- Edge Computing
How Does Cloudflare Turnstile Work?
Cloudflare Turnstile provides a powerful and flexible solution for implementing user authentication and access control for websites and web applications. It helps enhance security, protect sensitive resources, and improve the user experience.
4 Effective Steps to Get Cloudflare Turnstile Token with Nstbrowser
It's not a difficult way to grasp your Token actually!
Step 1: Install Nstbrowser
- Download the Nstbrowser client installer from the following URL: https://www.nstbrowser.io/download.
- Then, open the installer and follow the prompted steps to complete the installation process.
- After installing, you can find and launch the Nstbrowser client on your device.
Step 2: Set Up
For a better experience, you need to register a new account at the very beginning on our official website: https://app.nstbrowser.io/account/register.
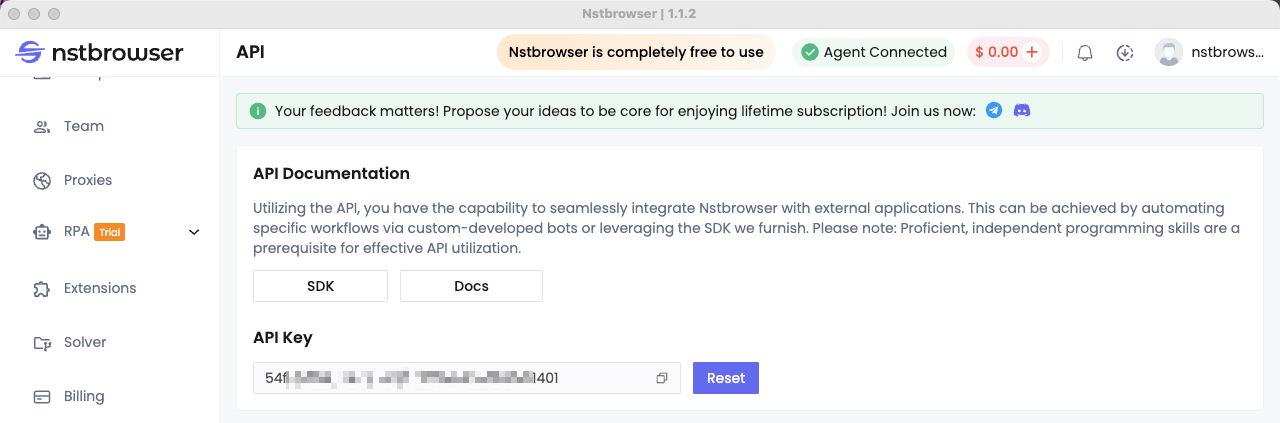
Log in to the Nstbrowser client with your registration information. After logging successfully, don't forget to generate your own exclusive API Key in the API menu!
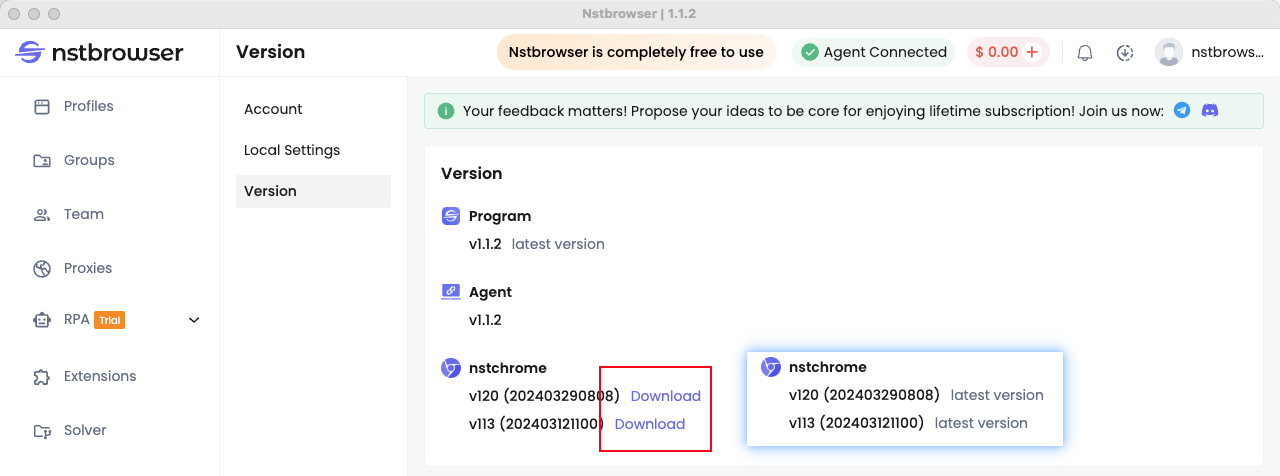
- Note: Make sure you have downloaded an available kernel. If not, please manually download it in the Nstbrowser client. What you need to do is: Click on the avatar in the upper right corner → Settings → Version.
Step 3: Write code to get the Cloudflare Turnstile token
Now! It's time to create a node project. This work will be finished if you do:
- Create an
api.jsfile in the project directory - Insert the following code to create and launch a random fingerprint browser instance.
javascript
// Api Docs: https://apidocs.nstbrowser.io/api-5418530
export async function getBrowserWSEndpoint(apiKey) {
  const config = {
    once: true, // one_time browser
    headless: false, // support: true, 'new'
    autoClose: false,
    // remoteDebuggingPort: 9223,
    fingerprint: {
      name: 'test-turnstile',
      platform: 'windows', // support: windows, mac, linux
      kernel: 'chromium', // only support: chromium
      kernelMilestone: '120',
      hardwareConcurrency: 2, // support: 2, 4, 8, 10, 12, 14, 16
      deviceMemory: 8, // support: 2, 4, 8
      proxy: "" // input format: schema://user:password@host:port
    },
  };

  const query = new URLSearchParams({
    'x-api-key': apiKey,
    config: JSON.stringify(config),
  }).toString();

  const resp = await fetch(`http://localhost:8848/api/agent/devtool/launch?${query}`)
  const json = await resp.json();
  return json.data
}
For more API parameters, please refer to the Nstbrowser API Documentation
Do you have any wonderful ideas and doubts about web scraping and Browserless?
Let's see what other developers are sharing on Discord and Telegram!
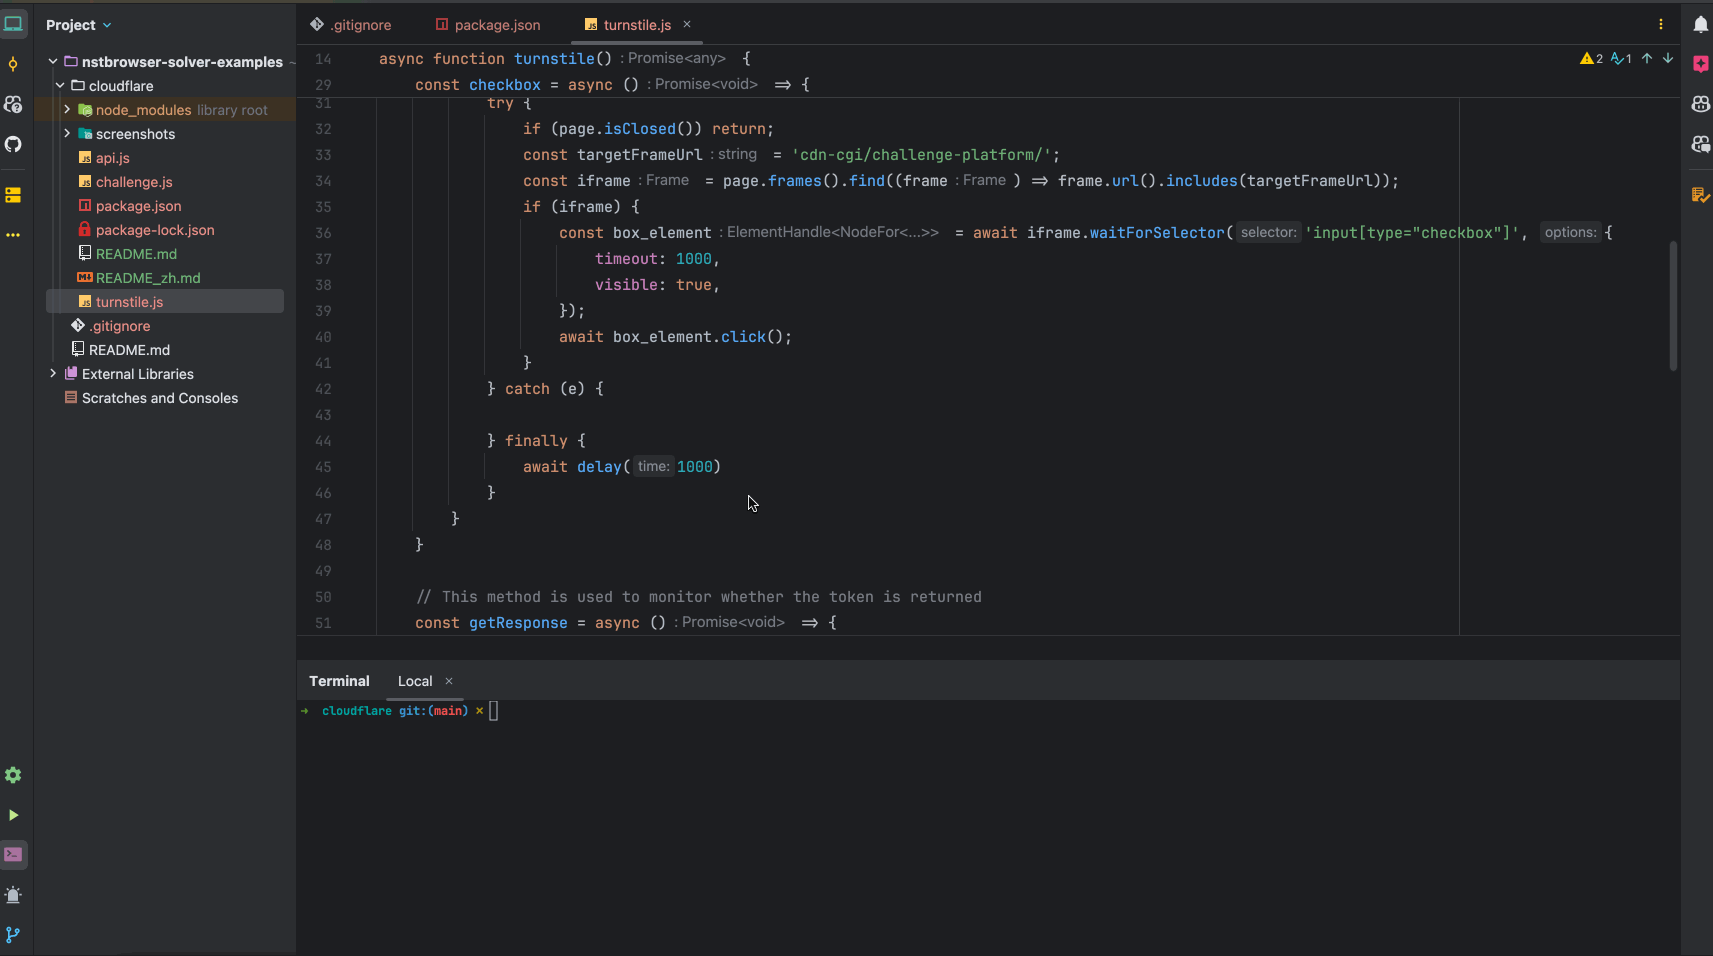
- Next, create a
turnstile.jsfile, and insert the following code to automatically retrieve the Turnstile Token data through Puppeteer.
javascript
import puppeteer from "puppeteer-core";
import {getBrowserWSEndpoint} from "./api.js";

const apiKey = 'API Key'

async function delay(time) {
  return new Promise(resolve => setTimeout(resolve, time));
}

let browser = null;
async function getTurnstileToken() {
  const {webSocketDebuggerUrl} = await getBrowserWSEndpoint(apiKey)
  browser = await puppeteer.connect({
    browserWSEndpoint: webSocketDebuggerUrl,
    defaultViewport: null,
  });

  const page = await browser.newPage();

  let resolveToken = null;
  const tokenPromise = new Promise(resolve => resolveToken = resolve);

  // This method is used to monitor whether the Checkbox exists on the page and click it
  const checkbox = async () => {
    while (true) {
      try {
        if (page.isClosed()) return;
        const targetFrameUrl = 'cdn-cgi/challenge-platform/';
        const iframe = page.frames().find((frame) => frame.url().includes(targetFrameUrl));
        if (iframe) {
          const box_element = await iframe.waitForSelector('input[type="checkbox"]', {
            timeout: 1000,
            visible: true,
          });
          await box_element.click();
        }
      } catch (e) {
      } finally {
        await delay(1000)
      }
    }
  }

  // This method is used to monitor whether the token is returned
  const findToken = async () => {
    while (true) {
      if (page.isClosed()) return;
      const response = await page.evaluate(() => {
        const token = window?.turnstile?.getResponse()
        if (token) {
          return {token: token}
        }
      });
      if (response) {
        resolveToken(response);
        return;
      }
      await delay(1000)
    }
  }

  findToken().then()
  checkbox().then()

  await page.goto('https://xxx.com/login.html');
  return tokenPromise;
}

// Test get trunstile token
getTurnstileToken()
  .then(result => console.log(result))
.catch(err => console.error(err))- Execute
node turnstile.jsin the terminal and wait for the result. The output may display as:
javascript
{ token: '0.ZDHeg0BH58fAptHKige3NNlwavjsNJtp9mIHOxV6Qbqp30cpqwi7ib2M7utunoXsOAf2EYd71XFzJnMw2rA_Zi5VuAFqe-CaXx7bHdecjxrjOaTdOGWQ_0mk9WA3v-FfJgXaJZD5FVmp1UCtQuzrxt4__TVYwytrbtrKbFpBJKqKH6CdY5MCnORHgcjc2FXS9PD0rCBdzJuicWJedZkmDvvGeWG2iKQ5D1T85oUoqkKpT-NMkSt1webVc_Yfa0sPXmbw8DKkYsauwJPvqfbqyfSdrDi17qK2APCQANeWdXgd-1NsHdlkV4OMdZuunbsoROJVXIOu-i1R_8rkWKiejsGQfkubX8Y8_xempdEO0LfYEBmrMUbPzyr12QcEefE5r_BPmdn_RTX_dU2kh734G3qaodxCcOOcCo5UKM1cvHI.D_fh7cB0Bxhb4b0PHB7jew.451b703e4df2a4e8cd61d90d175329883eb3af85d72e77787959c0b52fe112e2' }Step 4: Submit the form request
After obtaining the Turnstile token, we usually need to submit this token as part of the form request to the server. The implementation of this step may vary depending on the actual site.
Therefore, you need to modify and apply the following code examples according to the actual site requirements.
javascript
async function submitForm(token) {
  const formData = new FormData();
  formData.append('username', 'your_username');
  formData.append('password', 'your_password');
  formData.append('cf-turnstile-response', token);
  const response = await fetch('
https://xxx.com/login
', {
    method: 'POST',
    body: formData,
  });
  if (response.ok) {
    console.log('Form submitted successfully!');
  } else {
    console.error('Form submission failed!');
  }
}
Take Away Notes
In the above code, we create a new FormData object and add the username, password, and Cloudflare Turnstile Token. Please note that you need to modify these values according to the actual site requirements:
usernamepasswordcf-turnstile-responsehttps://xxx.com/login
For a complete Cloudflare Turnstile code example, please see GitHub
More


