Proxy
How to Configure IP2World in Nstbrowser
Secure Your Online Digital Privacy Through Residential Proxy
Apr 17, 2024
Step 1: Retrieval of Proxy Credentials
-
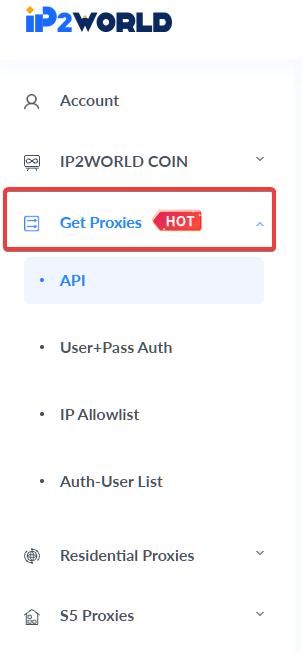
Initiating Proxy Access: Begin by navigating to the section designated for proxy management within the platform, commonly marked by a “Get Proxies” option or its equivalent. Selection of this option unveils the proxy credentials, which encompass the proxy address, port number, and any requisite authentication details.
-
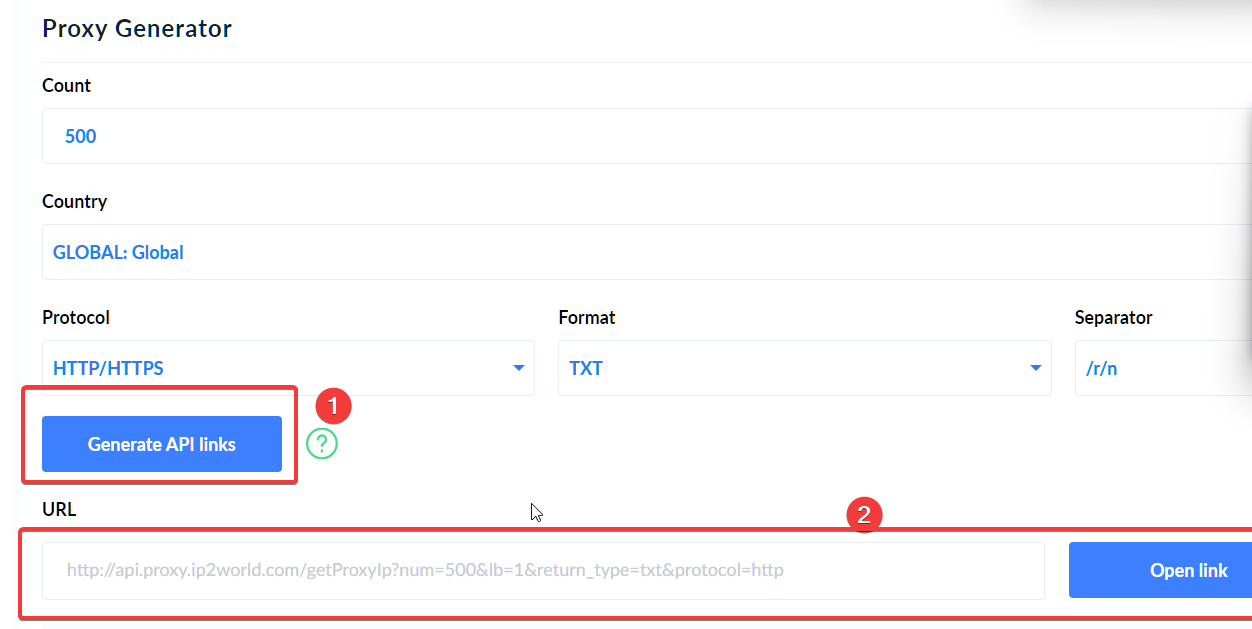
Proxy Detail Procurement: Subsequent to initiating usage, proceed to https://www.ip2world.com/ucenter/proxy_api/ for the extraction of the proxy details. The necessary information can be conveniently copied via the designated button.
Step 2: Configuration of a New Browser Profile
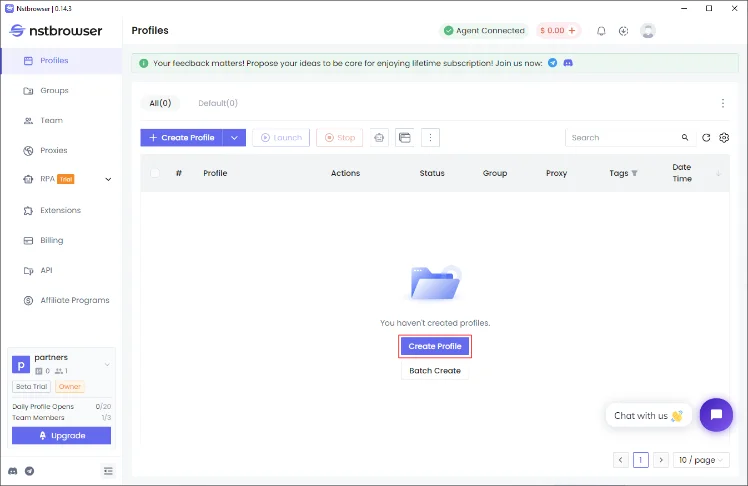
- Profile Creation Initiation: Within the Nstbrowser interface, commence the process of generating a new browser profile by engaging the "Create profile" button. This action transitions you to the profile setup interface.
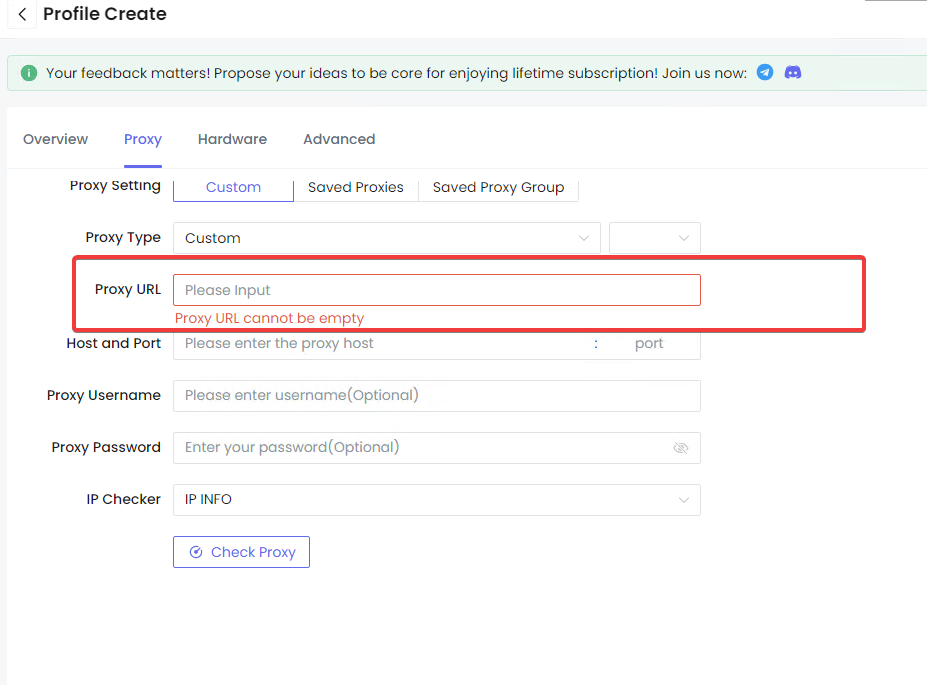
- Proxy Configuration: Within the profile configuration phase, navigate to the "Proxy" settings and opt for the "Custom" configuration. This step involves the direct transference of the proxy URI obtained from your IP2World dashboard into the "Proxy URL" field provided.
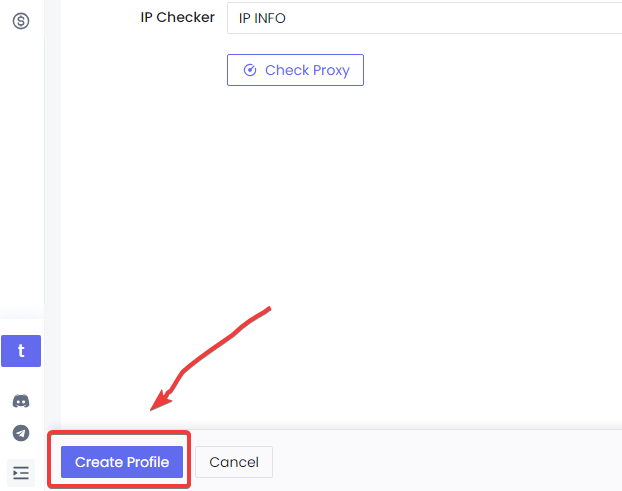
- Profile Finalization: Conclude the profile setup by selecting the "Create profile" option.
Step 3: Activation of the Configured Profile
- Profile Activation: To activate the newly established browser profile, identify and select the "Play" button linked to the profile. This initiates the kernel download process, facilitating subsequent browsing activities without detection.

This structured approach enables users to seamlessly incorporate IP2World’s rotating residential proxies into Nstbrowser, thereby augmenting their online privacy and evading detection with enhanced efficiency.
More


