🎁 Surprise Discount: Enjoy 90% Off Your Subscription!

  • Pricing
  • Documentation
EN
Contact

© 2025 NST LABS TECH LTD. ALL RIGHTS RESERVED

Products

Anti-Detect Browser
Nstbrowser RPA
Cloudflare Bypass
Browserless
Web Unblocker

Solutions

Cloud Fingerprint Browser
Multi-Account Management
Web Scraping & Automation
Anti-Detection Bot

Resources

Pricing
Download
RPA Marketplace
Affiliate Program
Partners
Blog
Release Notes

Support

Contact

Documentation

Legal

Terms
Privacy Policy
Cookies Policy

ProductsSolutionsResourcesSupportLegal

ProductsSolutionsResources

SupportLegal

© 2025 NST LABS TECH LTD. ALL RIGHTS RESERVED

Back to Blog
How to Configure PingProxies in Nstbrowser
Proxy

How to Configure PingProxies in Nstbrowser

The World's Most Advanced Proxy Network. Access our 115+ Million proxy network. Tailored to meet all your Static ISP, Residential and Datacenter proxy needs.
Jul 22, 2024Robin Brown

Ping Proxies claims to the world's most advanced proxy network that has access to a network with over 115+ million proxies within it. Their proxies are tailored to meet all your ISP, Residential and Captcha needs. They have sold over 250,000+ IP's and they have over 5000+ happy customers contributing to the idea that they are a well known company in the community and they are a trustworthy place to purchase proxies from.

Step 1: Establish a New Browser Profile

Initiate a new browser profile in Nstbrowser by clicking the "Create profile" button, which leads you to the profile creation settings.

Step 2: Set Up Your PingProxies Proxy

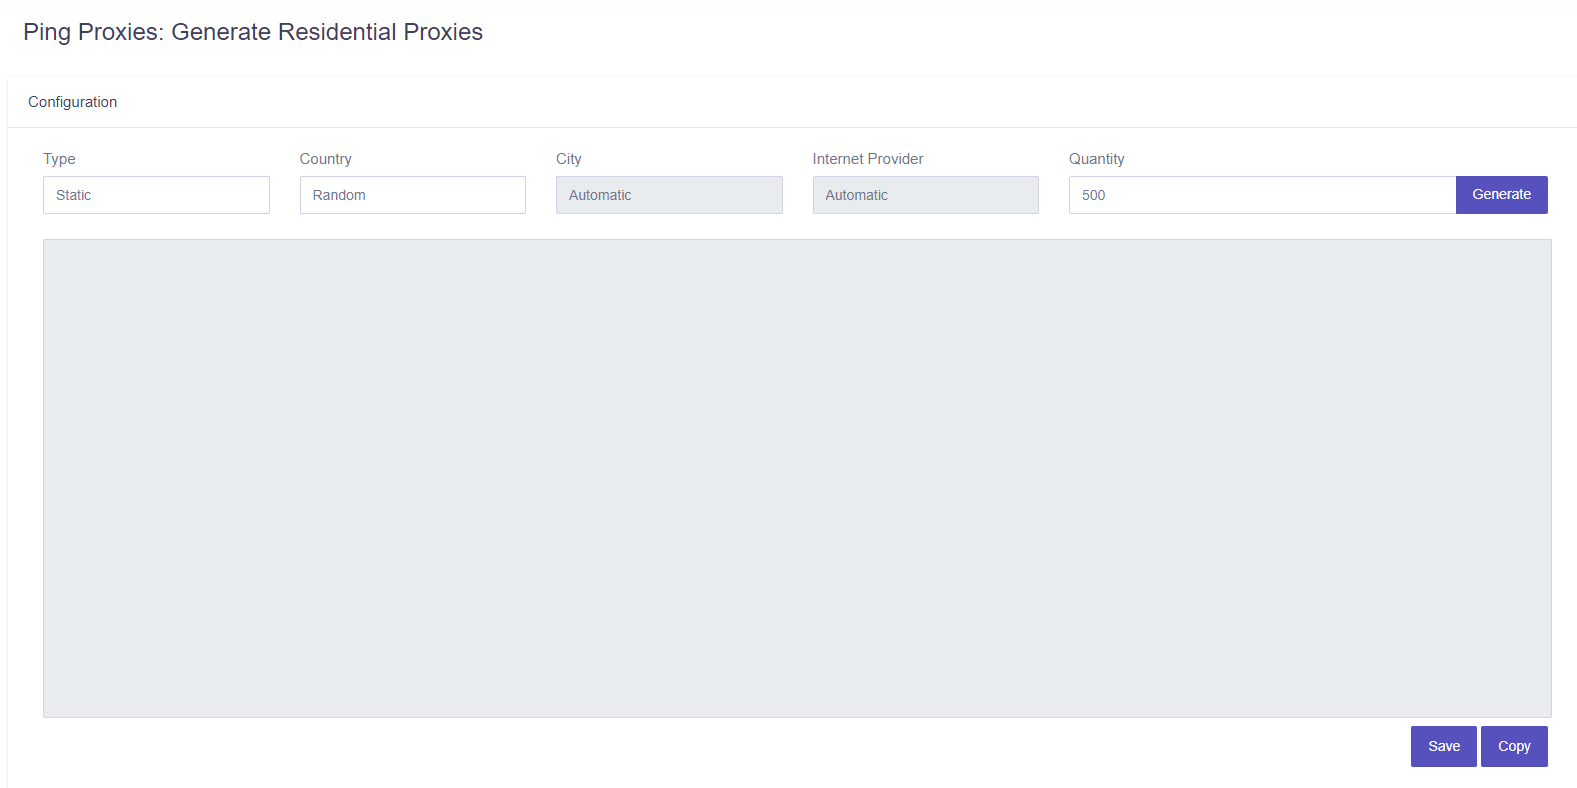
PingProxies presents 3 proxy options: DataCenter, Premium Static ISP and Residential Pro. Choose your preferred proxy type and configure its settings on the SmartProxy dashboard.

Once selected, such as the Residential in this example, adjust your settings accordingly.

Proxy settings dashboard

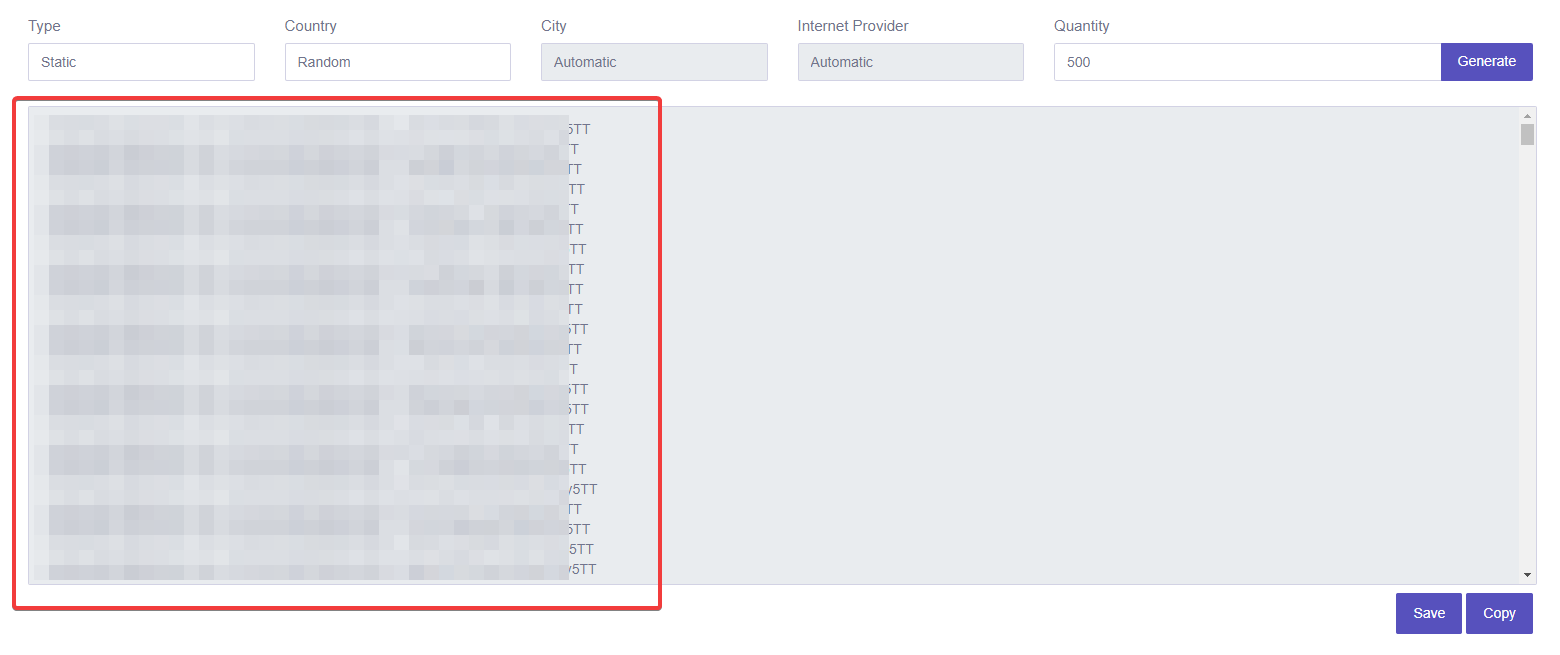
After configuration, proceed to copy the proxy details from the formatted proxy list panel.

Copy proxylist

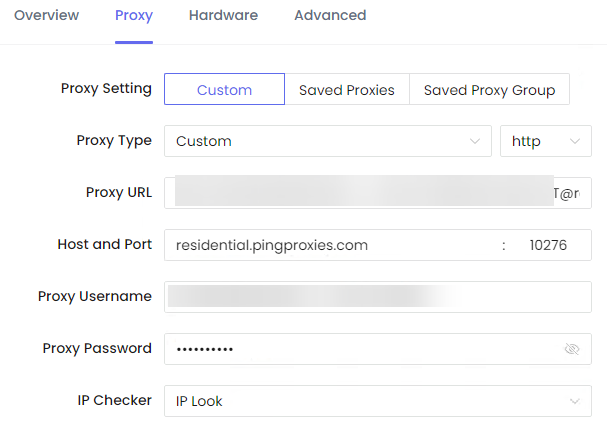
Step 3: Enter Your Proxy Details

Navigate to the "Proxy" tab in Nstbrowser and select "Custom" under proxy settings. Here, you can insert your PingProxies proxy details by pasting the proxy URI from the PingProxies dashboard into the "Proxy URL" field, select your desired protocol, and conduct a test. Confirm by clicking "Create profile".

Enter proxy details into Nstbrowser

Step 4: Activate Your Profile

To activate your newly created profile, press the "Play" button. Nstbrowser will download the necessary kernel, allowing you to start browsing anonymously and securely.

Activate new profile
More
webshare, nstbrowser
Proxy
How to Configure Webshare Proxies in Nstbrowser
Learn the benefits & process of integrating Webshare with Nstbrowser.
Nov 13, 2024Carlos Rivera
MarsProxies
Proxy
How to Configure MarsProxies in Nstbrowser?
The detailed steps to configure MarProxies in Nstbrowser.
Aug 22, 2024Carlos Rivera
Proxyshare
Proxy
How to Configure ProxyShare in Nstbrowser
The detailed steps to configure Proxyshare to Nstbrowser.
Aug 01, 2024Robin Brown
How to Configure PingProxies in Nstbrowser
Proxy
How to Configure PingProxies in Nstbrowser
The World's Most Advanced Proxy Network. Access our 115+ Million proxy network. Tailored to meet all your Static ISP, Residential and Datacenter proxy needs.
Jul 22, 2024Robin Brown
How to Use Nstbrowser with Astro Geo-Targeted Proxies
Proxy
How to Use Nstbrowser with Astro Geo-Targeted Proxies
How to use the antidetect Nstbrowser solution with the Astro data gathering infrastructure of geo targeted proxies spread across 100+ countries for private sessions
Jul 22, 2024Robin Brown
FlyProxy
Proxy
How to configure flyproxy in Nstbrowser?
Using Nstbrowser with FlyProxy makes web scraping and automation effortless.
Jul 11, 2024Carlos Rivera
Catalogue