
Proxy
How to Configure Netnut in Nstbrowser
Transform any website into structured data with the industry-leading residential proxy network
Jun 06, 2024Robin Brown
NetNut is a powerful proxy service provider offering an extensive network of over 85 million residential IPs across 200 countries. Known for its speed and reliability, NetNut caters to various use cases, including web scraping, SEO monitoring, and data collection. Their services are designed for high performance, ensuring uninterrupted data extraction with zero IP blocks or CAPTCHAs.
- Supports HTTP, HTTPS, and SOCKS5 protocols.
- Provides rotating and static residential proxies.
- Enables precise geo-targeting at city/state levels.
- Pricing starts at $300 for 20GB.
For more details, visit NetNut.
Step 1: Establish a New Browser Profile
Initiate a new browser profile in Nstbrowser by clicking the "Create profile" button, which leads you to the profile creation settings.

Step 2: Set Up Your Netnut Proxy
Netnut presents 4 proxy options: Datacenter IPs, Rotating Residential Proxies and Static Residential Proxies. Choose your preferred proxy type and configure its settings on the Netnut dashboard.
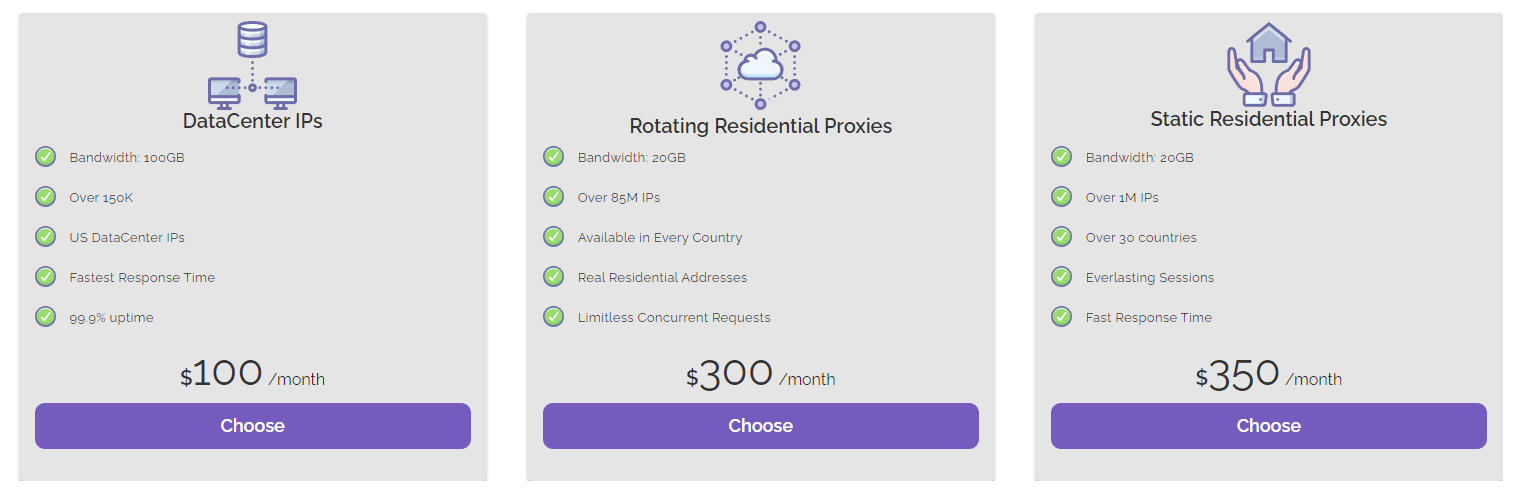
Once selected, such as the Static Residential in this example, adjust your settings accordingly.
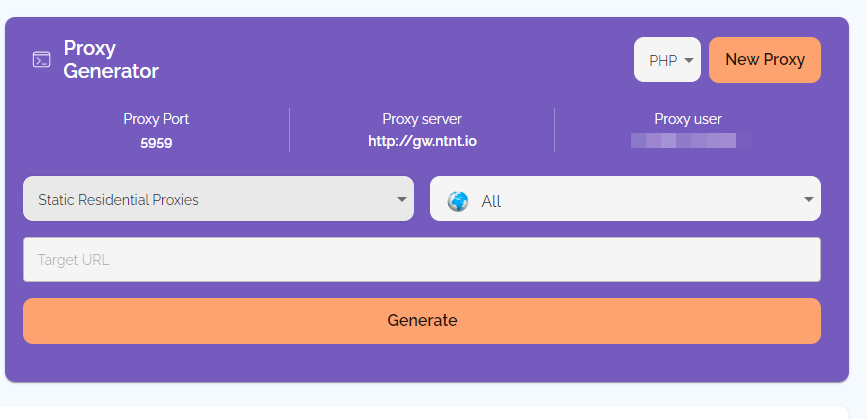
After configuration, proceed to copy the proxy details from the formatted proxy list panel.
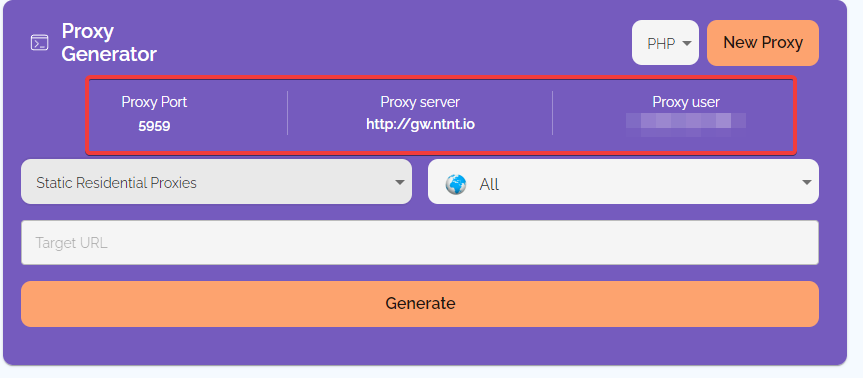
Proxy port, proxy server and proxy user can be found on the dashboard, but proxy password is the one linked to your account.
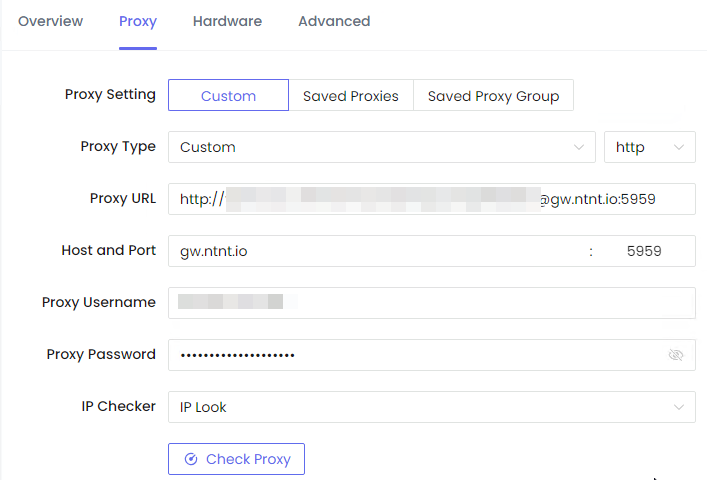
Step 3: Enter Your Proxy Details
Navigate to the "Proxy" tab in Nstbrowser and select "Custom" under proxy settings. Here, you can insert your Netnut proxy details by pasting the proxy URI from the Netnut dashboard into the "Proxy URL" field, select your desired protocol, and conduct a test. Confirm by clicking "Create profile".
Step 4: Activate Your Profile
To activate your newly created profile, press the "Play" button. Nstbrowser will download the necessary kernel, allowing you to start browsing anonymously and securely.

More


